Remove Time From Date In Excel
Introduction to Handling Dates in Excel

When working with dates in Excel, it’s common to encounter situations where you need to remove the time component from a date. This could be for formatting purposes, to make calculations easier, or to ensure data consistency. Excel provides several methods to achieve this, ranging from using formulas to applying date formatting. In this article, we’ll explore the various ways to remove time from date in Excel, including using formulas, formatting options, and other tricks.
Understanding Date and Time in Excel
Before diving into the methods, it’s essential to understand how Excel handles dates and times. Excel stores dates as serial numbers, starting from January 1, 1900, which is considered as day 1. Time is stored as a fraction of a day. For example, 12:00 PM (noon) is represented as 0.5, because it is half of a day. This system allows for easy date and time calculations but can sometimes make it tricky to work with dates alone.
Method 1: Using the INT Function
One of the simplest ways to remove the time from a date in Excel is by using the INT function. The INT function returns the integer part of a number, which, when applied to a date/time value, effectively removes the time component.
- Formula:
=INT(A1) - How it works: If you have a date/time value in cell A1 (e.g., 2023-04-01 08:00:00), applying the INT function will return the integer part of the serial number representing that date, effectively removing the time.
Method 2: Using the TRUNC Function
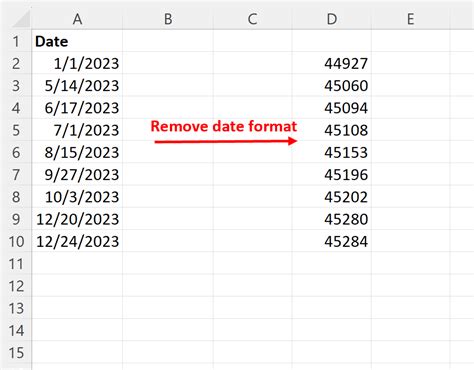
Similar to the INT function, the TRUNC function can be used to truncate the decimal part of a number, which includes the time fraction of a date/time value.
- Formula:
=TRUNC(A1) - How it works: This formula works similarly to the INT function but provides more flexibility if you need to truncate at a specific place.
Method 3: Changing the Number Format
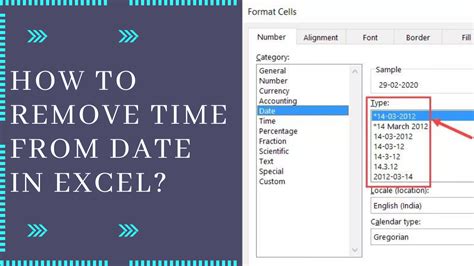
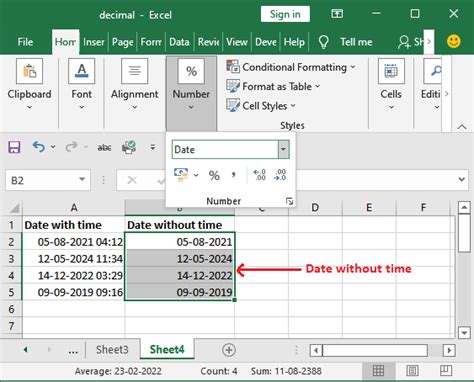
Sometimes, you might not need to alter the underlying value but just want to display the date without the time. This can be achieved by changing the number format of the cell.
- Steps:
- Select the cell(s) containing the date/time value.
- Right-click on the selected cell(s) and choose “Format Cells…”
- In the Format Cells dialog box, go to the “Number” tab.
- Click on “Custom” in the Category list.
- In the “Type” field, enter a custom date format, such as
yyyy-mm-ddormm/dd/yyyy. - Click “OK” to apply the format.
This method doesn’t change the actual value in the cell but changes how it’s displayed.
Method 4: Using the TEXT Function
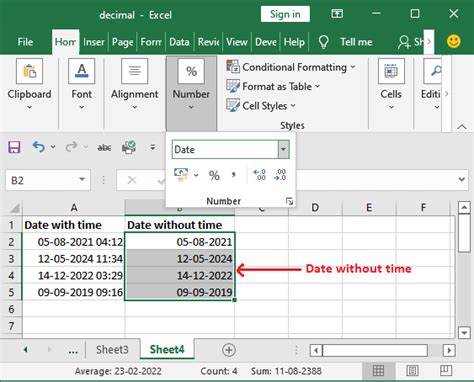
If you want to convert a date/time value into a text string that represents the date without the time, you can use the TEXT function.
- Formula:
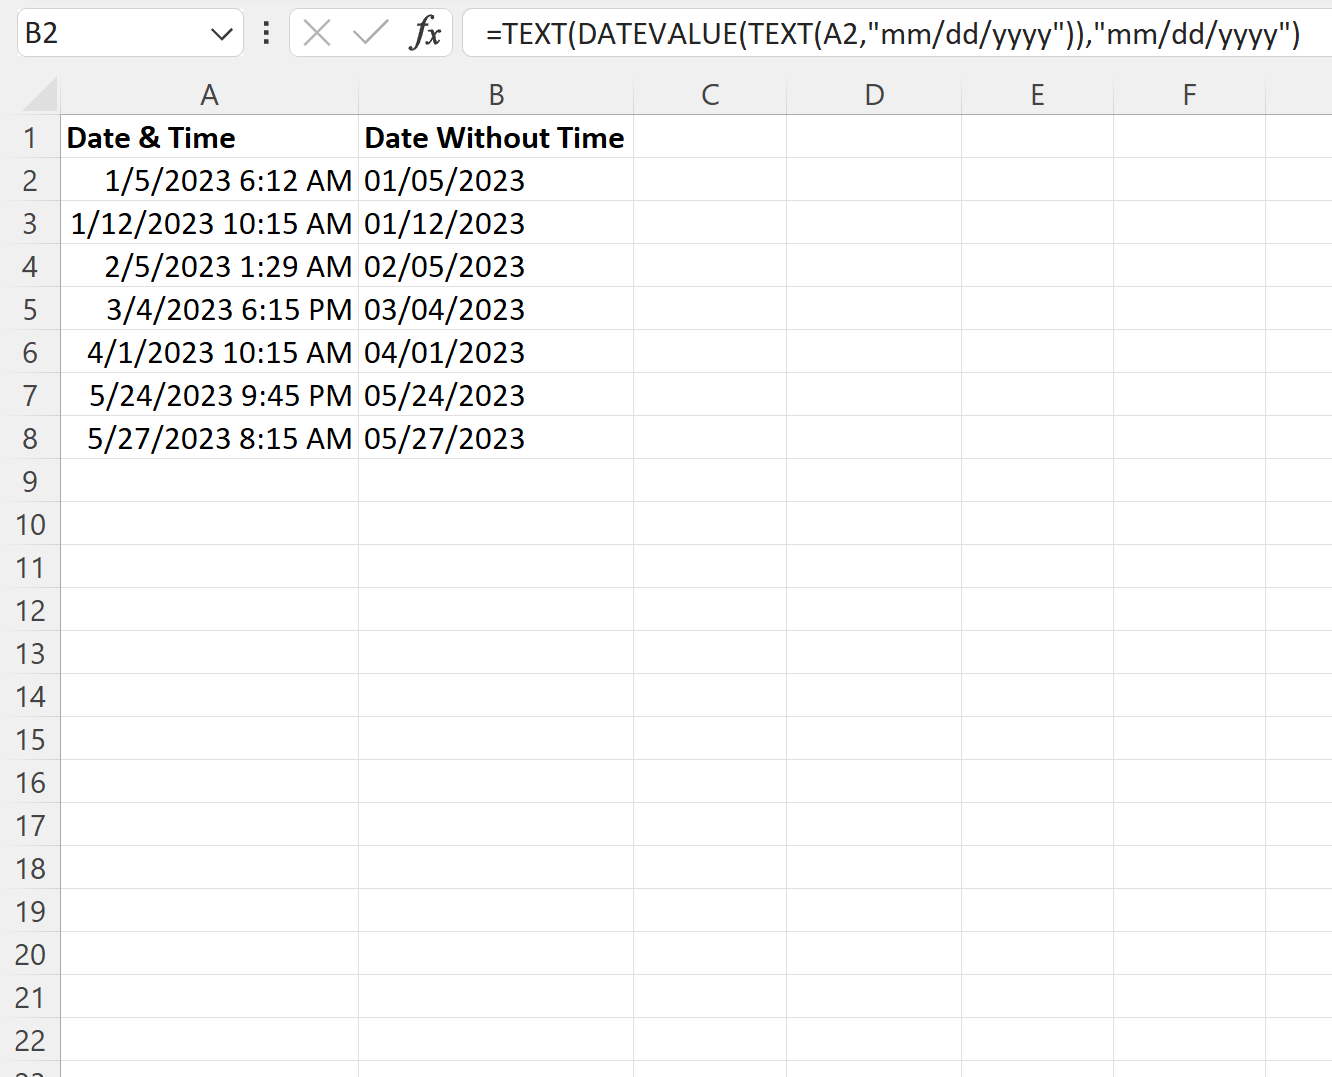
=TEXT(A1,"yyyy-mm-dd") - How it works: This formula converts the date/time value in cell A1 into a text string, formatted as specified in the second argument of the TEXT function.
Method 5: Using Power Query (for Excel 2010 and Later)

For those comfortable with Power Query (now known as Get & Transform in Excel 2016 and later), you can also remove time from dates using the “Date” option in the query editor.
- Steps:
- Select the column containing the date/time values.
- Go to the “Add Column” tab in the Power Query Editor.
- Click on “Date” and then select “Date Only” from the dropdown menu.
- This will create a new column with the date part only.
Comparison of Methods
Each method has its use cases and advantages. Using formulas like INT or TRUNC is useful when you need to perform further calculations with the date values. Changing the number format is ideal for display purposes without altering the underlying data. The TEXT function is handy when you need the date as a text string, and Power Query offers a powerful way to transform data, especially in larger datasets.
| Method | Description | Use Case |
|---|---|---|
| INT Function | Removes time by taking the integer part of the date serial number. | Calculations requiring date only. |
| TRUNC Function | Truncates the decimal part of the date serial number. | Similar to INT, with more flexibility. |
| Changing Number Format | Displays date without time without changing the value. | Display purposes only. |
| TEXT Function | Converts date/time to a text string representing the date. | When date needs to be used as text. |
| Power Query | Transforms date/time column to date only in queries. | Useful for large datasets and data transformation. |

💡 Note: When working with dates in Excel, ensure that your system's date settings are consistent with your requirements to avoid confusion or errors in date representations.
To summarize the key points, removing time from dates in Excel can be achieved through various methods, each suited for different needs, whether it’s for calculation purposes, display formatting, or data transformation. Understanding how Excel treats dates and times as serial numbers and fractions of a day is crucial for effectively managing and manipulating date data. By choosing the appropriate method, you can efficiently work with dates in Excel and ensure your data is consistent and accurate. This knowledge is not only useful for basic date handling but also lays the foundation for more complex data analysis and manipulation tasks in Excel.

