Count Years Of Service In Excel Easily

Introduction to Calculating Years of Service in Excel

Calculating years of service in Excel can be a straightforward task, thanks to the various date and time functions available in the software. Whether you’re an HR professional, a manager, or simply someone looking to keep track of work anniversaries, Excel provides several methods to compute the years of service. In this guide, we’ll explore how to use Excel formulas to calculate years of service easily and efficiently.
Understanding Date Functions in Excel

Before diving into the calculations, it’s essential to understand the basic date functions in Excel. Excel stores dates as serial numbers, starting from January 1, 1900, as day 1. This system allows for easy date calculations. The primary functions we’ll be using include: - DATEDIF: Calculates the difference between two dates in a specified interval (days, months, years). - TODAY: Returns the current date. - YEAR, MONTH, DAY: Extract the year, month, or day from a date.
Calculating Years of Service
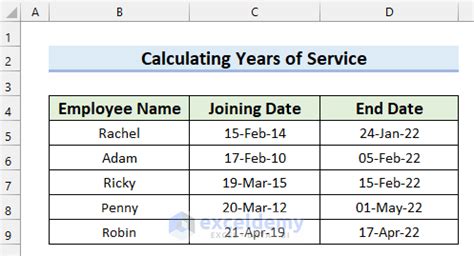
To calculate the years of service, you’ll need two dates: the hire date and the current date (or any other relevant date). Here’s how you can do it:
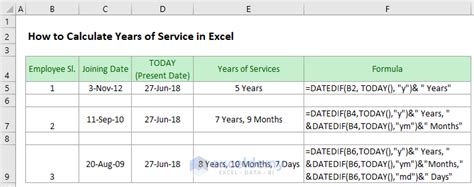
Using the DATEDIF Function: The DATEDIF function is specifically designed for calculating the difference between two dates in years, months, or days. The syntax is
DATEDIF(start_date, end_date, unit), where the unit can be “Y” for years, “M” for months, or “D” for days.- Example:
=DATEDIF(A2, TODAY(), "Y"), where A2 contains the hire date.
- Example:
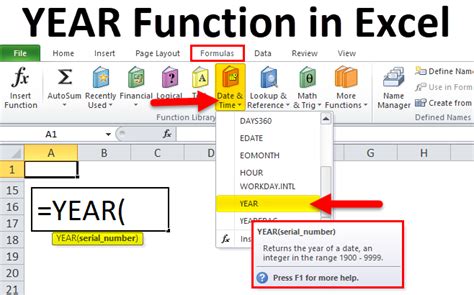
Using YEAR Function: Another approach is to subtract the hire year from the current year. However, this method doesn’t account for the month and day, so it’s less precise.
- Example:
=YEAR(TODAY()) - YEAR(A2), where A2 contains the hire date.
- Example:
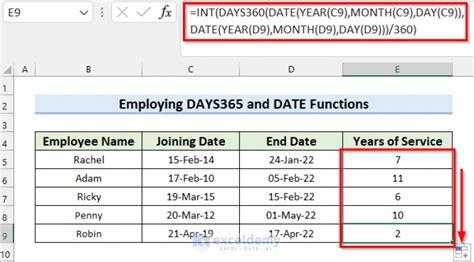
Accounting for Month and Day: For a more accurate calculation, considering the month and day of both the hire date and the current date, you can use the following formula:
- Example:
=INT((TODAY() - A2) / 365.25), where A2 contains the hire date. This formula accounts for leap years but doesn’t perfectly adjust for the exact date.
- Example:
Example Calculations
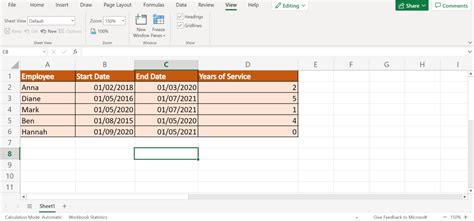
Let’s say you have the following data:
| Employee Name | Hire Date |
|---|---|
| John Doe | 2018-01-01 |
| Jane Doe | 2020-06-15 |
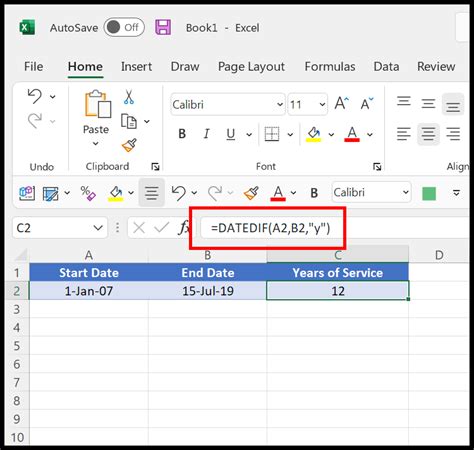
If today’s date is 2023-03-01, you can calculate the years of service as follows: - For John Doe:
=DATEDIF("2018-01-01", "2023-03-01", "Y") returns 5 years.
- For Jane Doe: =DATEDIF("2020-06-15", "2023-03-01", "Y") returns 2 years.
Tips for Calculating Years of Service

- Use Absolute References: When copying formulas down a column, use absolute references (e.g.,
$A$2) for the column with dates to ensure the formula always refers to the correct cell.
- Update Automatically: Using TODAY() ensures your calculations update automatically whenever you open the workbook.
- Consider Partial Years: Depending on your needs, you might want to display partial years of service. The DATEDIF function with the “Y” unit truncates the result, so you might need to adjust your formula to include months or days for a more detailed calculation.
📝 Note: Always ensure your dates are in a format that Excel recognizes as dates. Incorrect date formatting can lead to errors in your calculations.
Visualizing Years of Service
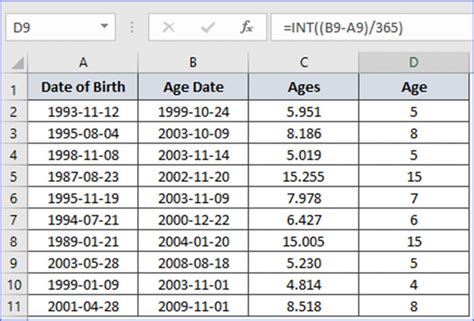
Once you have calculated the years of service, you can use this data to create charts or tables that help visualize employee tenure. This can be particularly useful for identifying patterns in employee retention or for planning anniversaries and recognition events.
Best Practices for Managing Employee Data in Excel
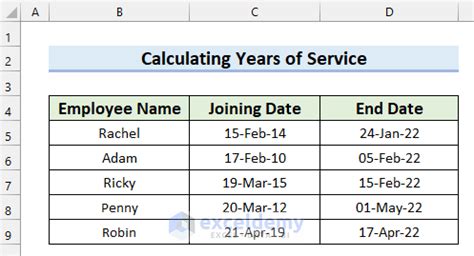
- Keep Data Organized: Use separate sheets for different types of data (e.g., contact information, hire dates, performance reviews). - Use Conditional Formatting: Highlight important milestones, such as upcoming anniversaries or years of service milestones. - Regularly Update Your Data: Ensure that your employee data is current and reflects any changes in the workforce.
In summary, calculating years of service in Excel is a straightforward process that can be accomplished using the DATEDIF function or other date-related functions. By following the steps and tips outlined above, you can easily manage and calculate employee years of service, contributing to a more organized and appreciative work environment.
What is the best function to use for calculating years of service in Excel?
+
The DATEDIF function is the most straightforward and accurate method for calculating years of service, as it directly computes the difference between two dates in years.
How do I ensure my date calculations update automatically in Excel?
+
Using the TODAY() function in your date calculations ensures that your results update automatically whenever you open your Excel workbook, reflecting the current date.
Can I calculate partial years of service using the DATEDIF function?
+
The DATEDIF function with the “Y” unit returns the difference in years, truncating any partial years. For partial years, consider calculating the difference in months or days and then converting it into years, or use a combination of YEAR, MONTH, and DAY functions to get a more detailed calculation.

